Everything in Layoutr starts from a plan on the canvas. You can upload an image of one, or, if you have no image, draw the rooms yourself (that is the last tutorial in this track). This walkthrough covers the upload path.
- 1
Open the planner
Go to use.layoutr.app. You land on an empty canvas with a hint titled "Start with a floor plan" and a numbered guide across the top: Upload plan, Set scale, Add furniture. That is the whole path, in order.
use.layoutr.app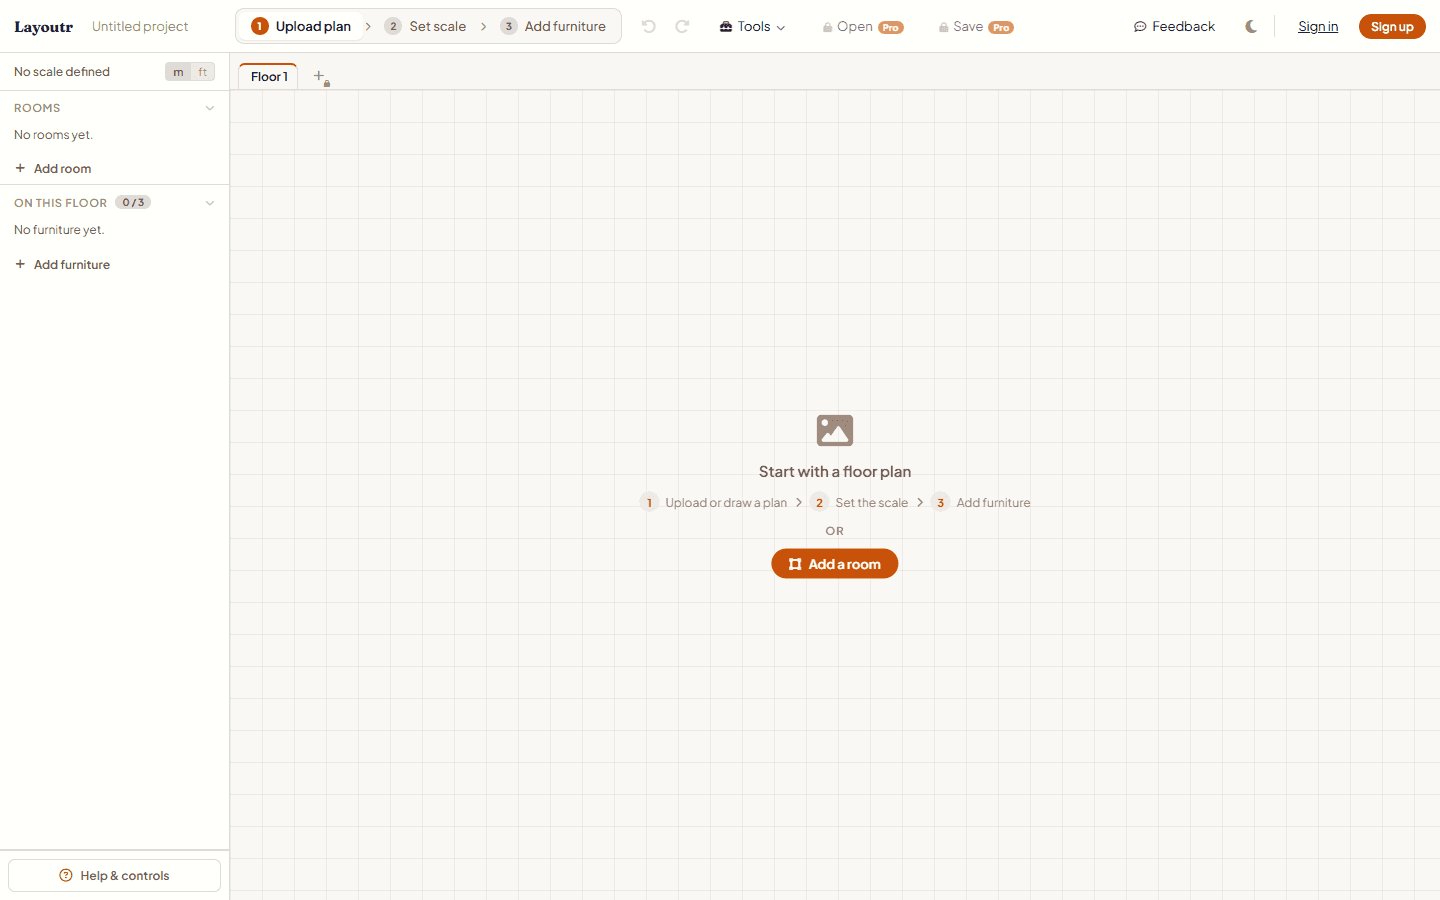
The empty planner, with the Upload plan, Set scale, and Add furniture steps. - 2
Click "Upload plan"
Press the step 1 button, Upload plan, in the toolbar. A file chooser opens. Pick any image your browser can display: a listing floor plan, a scan of a printed drawing, or a straight-on phone photo all work.

Step 1, "Upload plan", sits at the start of the toolbar. Clicking it opens a file chooser. - 3
Check it sits square
Your plan appears on the canvas. Make sure the whole thing is visible and roughly level. It does not need to be perfect, but a straight, top-down image makes the next step, setting the scale, more accurate. Zoom and pan to inspect it.
use.layoutr.app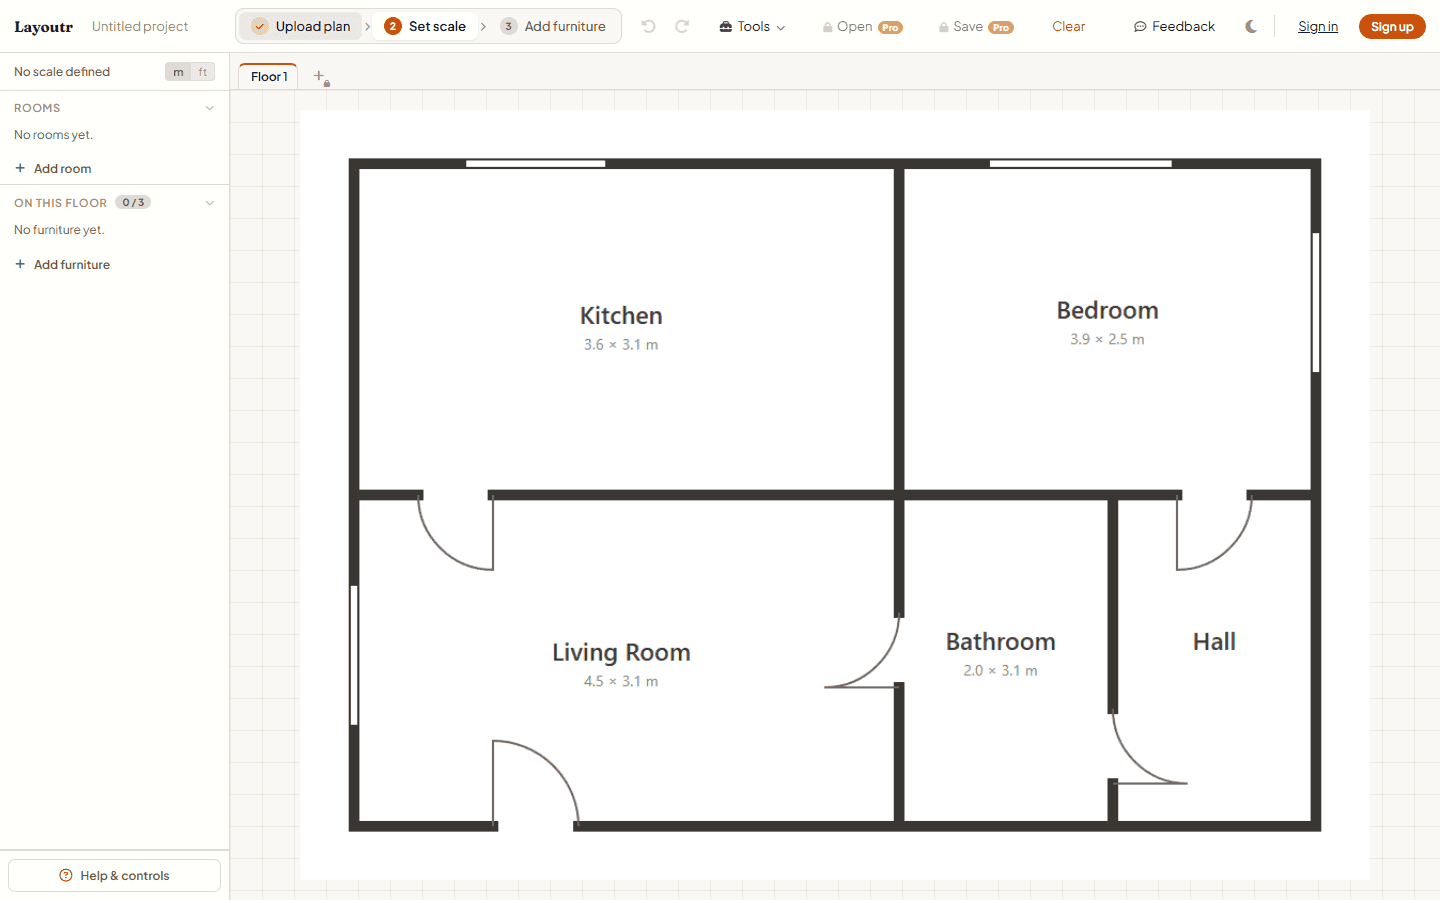
The uploaded plan sits on the canvas, ready to scale.