With the plan scaled, you can try real furniture at true dimensions and see the clearances before you carry anything up the stairs. On the Free plan you can place up to three pieces per floor; Pro is unlimited.
- 1
Open "Add furniture"
Click the step 3 button, Add furniture (or the same button in the Furniture sidebar). The "Add furniture" box opens on the Preset item tab, the catalog of pre-measured pieces.
use.layoutr.app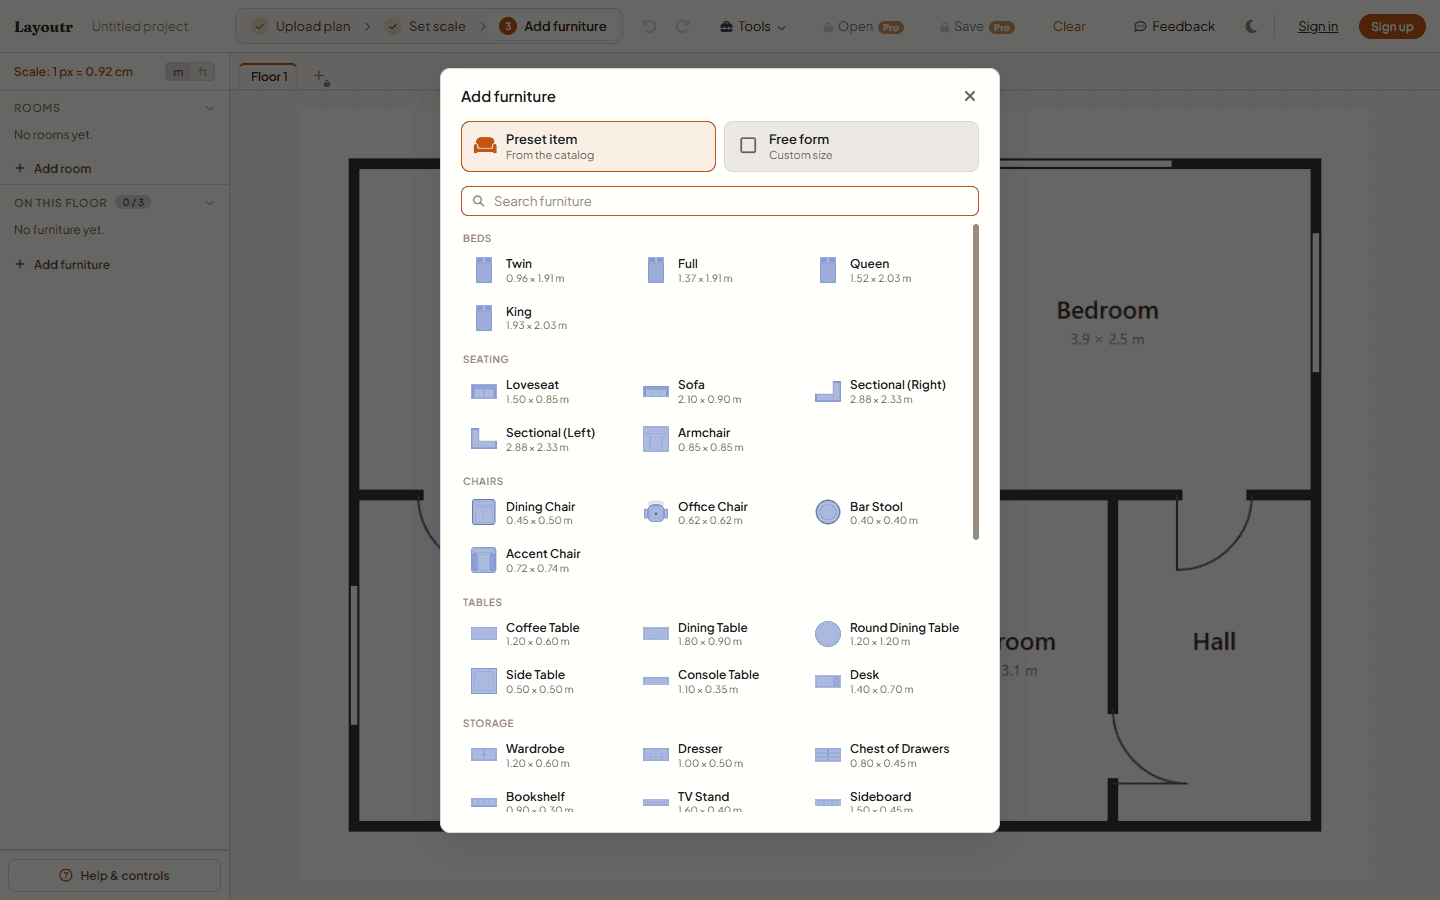
The "Add furniture" catalog. Click a row to place it, no dragging needed. - 2
Pick a piece
Search with "Search furniture", or browse the categories. Each row shows the real size, for example a Sofa at 2.10 × 0.90 m. Click a row and the piece drops onto your plan at true scale. Need something that is not there? Switch to the Free form tab and enter a name, width, and depth for a custom rectangle.
- 3
Position and rotate
Drag a piece to move it. Select it and a round handle appears above it; drag that to rotate. It snaps to quarter turns so pieces sit flush to walls, and holding Alt lets you set any angle. To resize, drag any corner handle, or double-click the piece to open "Edit Furniture" and type an exact width and depth. Press Delete to remove a piece, or Ctrl+D to duplicate one.
- 4
Check the clearances
This is the whole point: does it fit? Open Tools, pick Measure distance, and check the walkways and door swings. Aim for at least 600 mm (24 in) of clear walking space, more where two people pass.
use.layoutr.app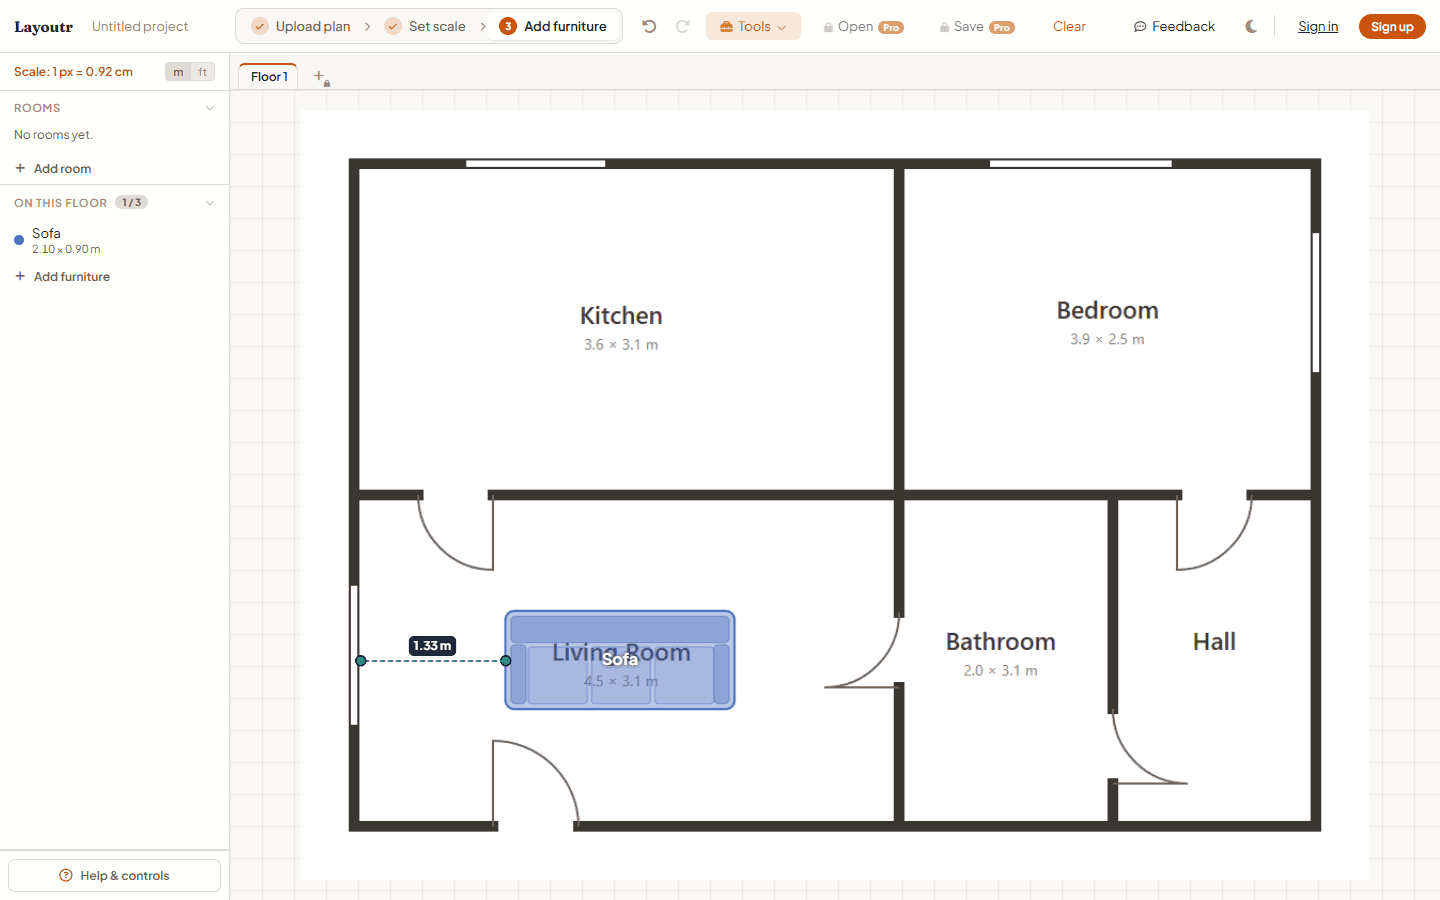
Measure the walkway between a piece and the wall. Aim for at least 600 mm (24 in).